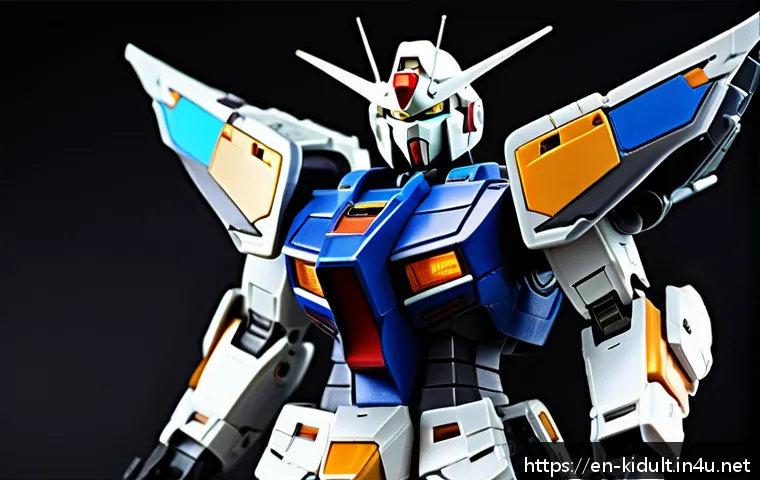
If you’ve ever been captivated by the intricate world of Gundam model kits, now is the perfect time to dive deeper into Master Grade (MG) builds. With recent advancements in design and articulation, MG kits have become the holy grail for collectors and builders alike, offering unmatched detail and customization.
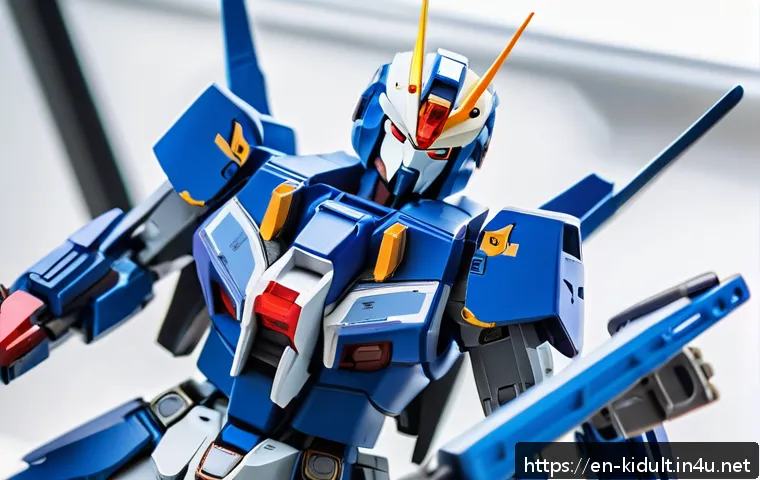
Whether you’re a seasoned builder or just starting out, understanding the secrets behind these kits can elevate your hobby to a whole new level. In this guide, we’ll explore everything from assembly tips to painting techniques, helping you unlock the full potential of your MG collection.
Stick around, because mastering these kits is not just about building models—it’s about creating art.
Understanding the Complexity of Master Grade Kits
What Sets Master Grade Apart from Other Grades?
Master Grade kits are a step above the rest, mainly because of their intricate engineering and scale, usually around 1/100. Unlike High Grade or Entry Grade kits, MG models feature a detailed inner frame that supports external armor pieces, giving the finished product a realistic mechanical look and feel.
When I first started assembling MG kits, the complexity was intimidating, but once I understood the inner frame concept, the building process became far more rewarding.
The articulation in MG kits allows for dynamic poses, which is something I’ve always found thrilling—your Gundam can express a range of emotions and action stances that smaller or simpler kits just can’t replicate.
Material Quality and Part Separation
One of the biggest draws for MG kits is the quality of the plastic and the precision in molding. The parts are often multi-colored, which means you don’t need to rely heavily on painting to achieve a vibrant look.
However, what really stands out is how the parts are separated to reduce seam lines and improve overall aesthetics. When I built my first MG kit, I was surprised at how clean the parts fit together without the need for excessive sanding or filler.
This attention to detail makes the kit feel more like a collectible than just a toy.
Scale and Display Impact
The 1/100 scale is perfect for displaying because it’s large enough to capture fine details but not so big that it dominates your shelf. I’ve found that MG kits make a great centerpiece for any collection, especially when combined with a well-lit display case.
The size also allows for customization, like adding LED lights or custom decals, which can dramatically enhance the visual impact. For anyone wanting to impress visitors or just enjoy their build on a daily basis, MG kits hit the sweet spot between complexity and displayability.
Tips for Efficient Assembly and Avoiding Common Pitfalls
Organizing Your Workspace and Parts
A cluttered workspace can turn an enjoyable build into a frustrating experience, especially with MG kits where you’re dealing with hundreds of tiny parts.
I learned early on that sorting parts into small containers or trays before starting assembly saves tons of time and stress. It’s also helpful to keep your instruction manual open and mark completed steps with a pencil or sticky notes.
This way, you avoid accidentally skipping steps or mixing up similar parts, which can be a nightmare to fix later.
Tools That Make a Difference
While the basic tools like nippers, tweezers, and a hobby knife are essential, investing in a few specialty tools can elevate your build quality dramatically.
For example, a panel lining pen adds depth to the fine grooves and mechanical details, making your Gundam look more realistic. I also recommend sanding sticks and files for smoothing out nub marks where parts are cut from runners.
My personal favorite is a pair of flush cutters with a sharp edge, which helps prevent stress marks on the plastic.
Handling Delicate Parts and Joints
MG kits are filled with small, delicate pieces that require gentle handling. When I first tackled an MG build, I accidentally snapped a joint because I was too eager to pose it.
The key is patience—test the movement gently and avoid forcing parts into place. Lubricating joints with a tiny dab of silicone grease can also improve articulation and reduce wear over time.
This small step keeps your model looking pristine and functional for years.
Painting Techniques to Bring Your Gundam to Life
Choosing the Right Paint Type
Painting MG kits can be intimidating, but it’s one of the most rewarding parts of the hobby. Acrylic paints are popular among beginners because they’re water-based, easy to clean up, and dry quickly.
For more advanced builders, enamel or lacquer paints offer superior durability and finish but require proper ventilation and safety measures. When I painted my first MG, I started with acrylics and gradually moved to lacquers as I became more confident, noticing a huge difference in finish quality.
Prepping Surfaces for Paint
Preparation is everything. I always recommend washing parts with mild soap and water before painting to remove any mold release agents that could cause paint to peel.
Lightly sanding the surface with fine grit sandpaper also helps paint adhere better. One trick I’ve found useful is applying a primer coat, which evens out the surface and highlights any imperfections that need fixing before the final paint job.
Layering and Weathering for Realism
Layering paint in thin coats prevents the details from being obscured and gives a smooth finish. After the base color, adding panel lining and subtle weathering effects can transform your model from looking plastic to battle-worn and realistic.
My favorite weathering technique involves dry brushing metallic colors on edges to simulate wear and tear. It’s these small touches that make your MG kit stand out and tell a story.
Customizing and Upgrading Your Master Grade Model
Adding Aftermarket Parts and Accessories
The MG community is vibrant with artists and manufacturers creating custom parts like metal thrusters, photo-etched detail sets, and upgraded weapons.
Incorporating these can take your build to a professional level. I once swapped out the standard beam saber handles for a metal upgrade kit, and the added weight and detail made a huge difference in how the model felt and looked.
Decals and Markings for Personality
Applying water-slide decals or dry transfers is a fantastic way to personalize your MG kit. I prefer water-slide decals because they conform better to the model’s surface and look more integrated.
It’s important to seal them with a clear coat afterward to prevent peeling. Adding decals can tell a story—whether your Gundam is part of an elite squad or a lone warrior—and it’s a fun way to make your model uniquely yours.
Exploring LED Lighting Options
One of the coolest customizations I’ve experimented with is installing tiny LED lights in the eyes or thrusters. It does require some basic wiring skills and patience, but the effect is stunning.
Imagine your Gundam’s eyes glowing with a fierce red or green light—this adds a dramatic flair that really makes your display pop, especially in low-light environments.
Mastering Articulation and Dynamic Posing
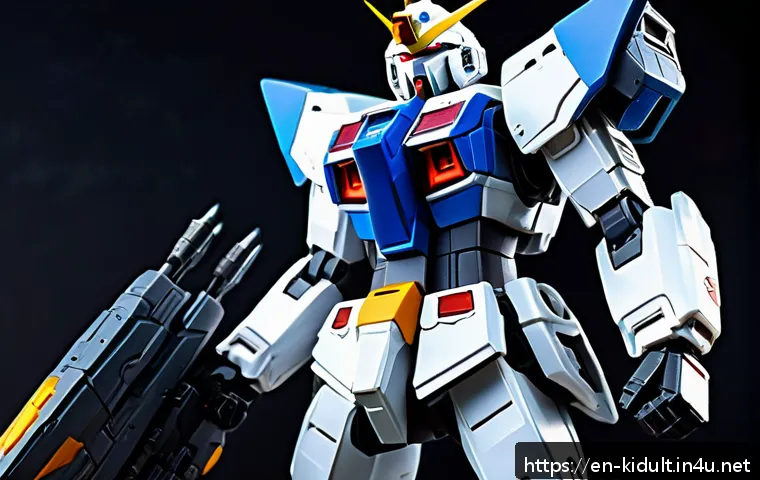
Understanding Joint Mechanics
MG kits come with complex joints that allow for a wide range of motion, but understanding how to safely manipulate these is crucial. I learned that moving joints slowly and within their natural limits prevents damage.
Some builders even reinforce joints with small drops of super glue or add joint tighteners to improve stability for dynamic poses.
Creating Natural and Dramatic Poses
Posing isn’t just about making your Gundam stand; it’s about storytelling. I like to set up scenes where the Gundam looks ready for battle or caught mid-action, which adds life to the model.
Using an action base or stand can help you achieve gravity-defying poses, and combining this with clever angles during display or photography takes your presentation to the next level.
Maintaining Posed Models
Once you have that perfect pose, keeping it stable is another challenge. I’ve found that using clear tack or museum gel on the base of the feet helps keep the model grounded without damaging the paint.
Also, regularly checking and gently adjusting joints prevents sagging over time, keeping your masterpiece looking fresh.
Essential Tools and Materials for Every MG Builder
Basic vs. Advanced Tools
For beginners, the essentials include nippers, a hobby knife, tweezers, and sanding sticks. As you gain experience, upgrading to more specialized tools like panel lining pens, airbrushes, and precision files will enhance your builds.
I started with just the basics but found that investing in a quality airbrush completely changed my painting game.
Storage and Maintenance of Tools
Proper care of your tools extends their life and ensures better results. I keep my nippers and knives sharp and clean, storing them in a dedicated case to avoid damage.
Organizing tools by type and usage frequency saves time during builds and keeps frustration at bay.
Consumables and Materials to Stock Up
Stocking up on essentials like plastic cement, sandpaper in various grits, and different paint types ensures you’re always ready to tackle new projects.
I always keep extra runners and spare parts on hand, especially when working on complex builds, so I can replace any damaged pieces without delay.
| Tool/Material | Purpose | Recommended Brand/Type |
|---|---|---|
| Plastic Nippers | Cutting parts cleanly from runners | GodHand or Tamiya flush cutters |
| Panel Lining Pens | Adding depth to panel lines | Gundam Marker, Tamiya Panel Line Accent |
| Hobby Knife | Trimming and cleaning parts | X-Acto #11 blade |
| Sandpaper/Sanding Sticks | Smoothing nub marks and surfaces | Various grits (400-2000), 3M or generic |
| Paints | Coloring and detailing | Acrylic (Tamiya, Vallejo), Lacquer (Mr. Hobby) |
| Plastic Cement | Bonding plastic parts | Testors or Tamiya Extra Thin Cement |
| Airbrush | Even paint application | Iwata or Badger entry-level kits |
Community and Resources for Continuous Improvement
Online Forums and Social Media Groups
Joining online communities like Reddit’s Gunpla subreddit or specialized Facebook groups has been invaluable for me. These platforms offer a space to share progress, get advice, and see inspiring builds that motivate you to push your skills further.
There’s a real sense of camaraderie among builders who share tips on everything from assembly to painting.
Workshops and Local Meetups
If you have the chance, attending a local Gunpla workshop or meetup can accelerate your learning curve. Hands-on guidance from experienced builders helps you avoid common mistakes and introduces you to new techniques.
Plus, meeting fellow enthusiasts face-to-face adds a social element that makes the hobby even more enjoyable.
Video Tutorials and Step-by-Step Guides
YouTube channels dedicated to Gunpla building provide a treasure trove of information. I often revisit tutorials when trying out new painting styles or assembly tricks.
Watching someone else’s hands in action clarifies complex steps that manuals sometimes don’t explain well, making these resources essential for builders at any level.
In Conclusion
Master Grade kits offer an exceptional building experience that combines intricate engineering with stunning visual appeal. Through patience and the right tools, anyone can create a detailed and dynamic model that stands out in any collection. Whether you’re a beginner or an experienced builder, MG kits provide endless opportunities for creativity and customization. Embracing the complexity makes the finished product all the more satisfying.
Helpful Tips to Keep in Mind
1. Organize your workspace before starting to avoid losing small parts and reduce frustration.
2. Invest in quality tools like flush cutters and panel lining pens to improve build precision and finish.
3. Take your time handling delicate joints and test movements gently to prevent breakage.
4. Prepare parts properly by cleaning and priming to ensure paint adheres smoothly and lasts longer.
5. Join online communities or attend workshops to learn new techniques and connect with fellow builders.
Key Takeaways
Master Grade kits stand out due to their detailed inner frames and realistic articulation, making them ideal for collectors and hobbyists seeking depth and poseability. Proper preparation, including workspace organization and tool maintenance, greatly enhances the building experience. Painting and customizing add personality and realism, while careful handling preserves the model’s integrity. Lastly, engaging with the builder community offers valuable support and inspiration for continuous improvement.
Frequently Asked Questions (FAQ) 📖
Q: uestions about Master Grade Gundam KitsQ1: What makes Master Grade (MG) Gundam kits different from other grades?
A: Master Grade kits stand out because of their superior detail, complexity, and articulation compared to High Grade (HG) or Entry Grade (EG) kits. They typically feature an inner frame that mimics mechanical structure, allowing for realistic posing and enhanced stability.
The parts are usually more precise, with better color separation, making them ideal for builders who want a highly detailed and customizable model. Personally, I found that the MG kits offer a satisfying building experience that feels much more like assembling a real mecha than just snapping plastic pieces together.
Q: I’m new to MG builds—what are some essential tips to get started?
A: Starting with MG kits can be intimidating, but a few tricks can make the process much smoother. First, invest in good tools: a sharp hobby knife, quality nippers, and fine sandpaper or sanding sticks will drastically improve the final look.
Take your time reading the instructions carefully, and don’t rush the assembly—patience is key. Also, I recommend cleaning the parts with a mild detergent before painting or applying decals to remove any mold release agents.
Finally, practice panel lining using a fine-tipped marker or wash to bring out the mechanical details; it’s a game-changer for enhancing realism.
Q: What painting techniques work best for Master Grade kits to achieve a professional finish?
A: When it comes to painting MG kits, layering and patience are your best friends. Start with a primer to ensure paint adhesion and to reveal any surface imperfections you might want to fix.
Airbrushing is highly recommended for an even, smooth coat, but high-quality spray cans can also work if you don’t have an airbrush. Use thin, multiple coats rather than one thick layer to avoid runs or drips.
For details, hand-paint small parts with fine brushes and consider using masking tape to create clean lines. Weathering techniques like dry brushing or using pastels can add depth and realism, making your model truly stand out.
From my experience, the effort spent on painting is what transforms a good build into a stunning display piece.